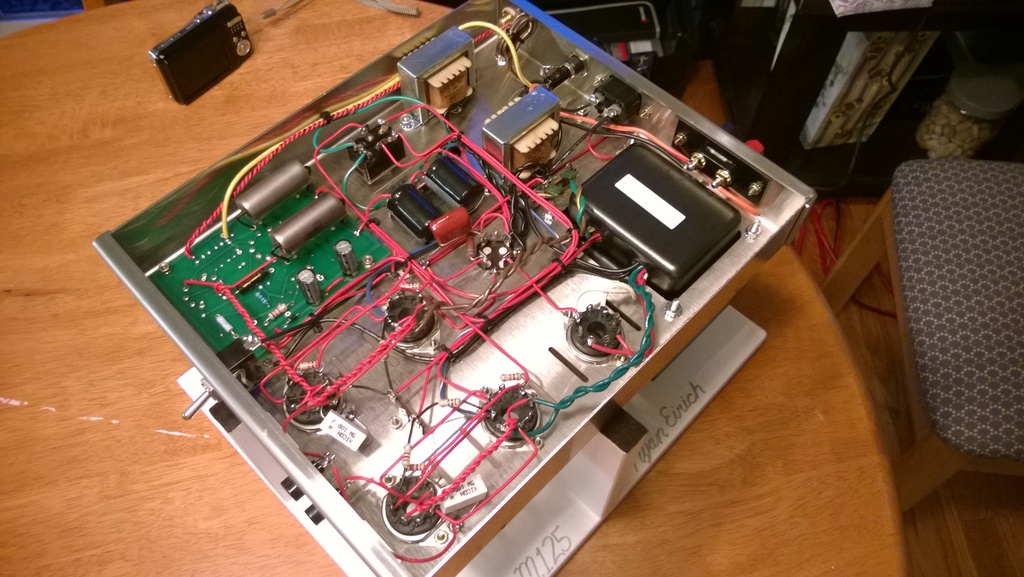
Like many probably have, I stared at these M125's for probably a year before pulling the trigger (after all $2,300+ is no small purchase). While I did get them from someone on eBay that did not get around to building them, they were in Bob's original packaging, which was very good packaging to say the least. The first thing I did was catalog every item against the parts list to make sure they were all there, and that's when I started to see the attention to detail that Bob puts into these kits. I should also comment out front how accessible and helpful Bob is. I have contacted him many times prior to buying these amps, and a couple times during the build and it's amazing how quick and helpful he is.
I have done a basic rebuild on an ST70 (all capacitors replaced, new tubes, replaced selenium rectifier with diode), and rebuilt the power supply on a PAT-4, and that's really about it. So it's fair enough to call myself a novice when it comes to soldering and working on amplifiers in general.
I kind of laugh at the 8-10 hours per amplifier because I know I have way more time into them than that. But I think the key here is that if you can practice patience, you can go a long way towards mitigating your lack of experience.
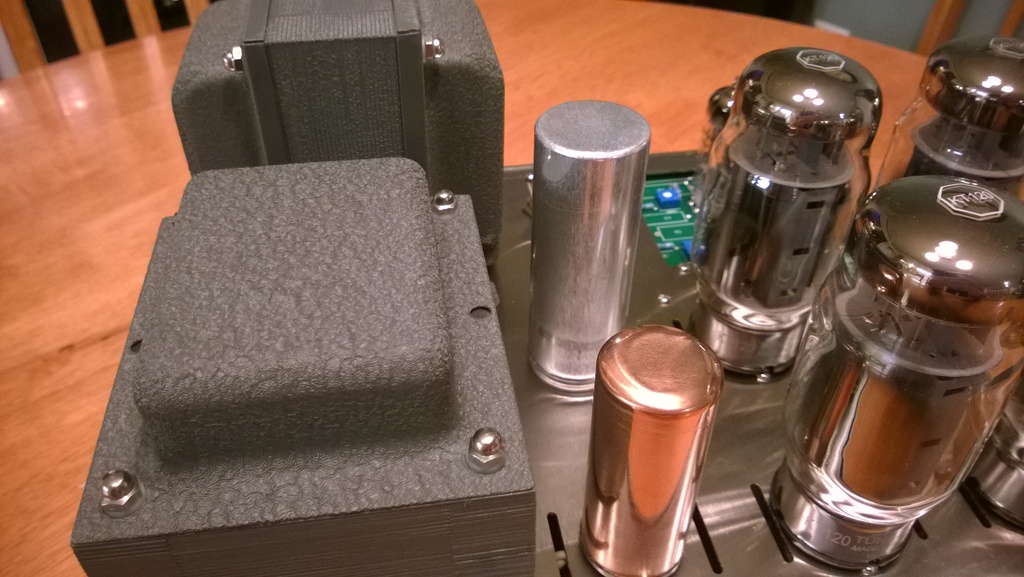
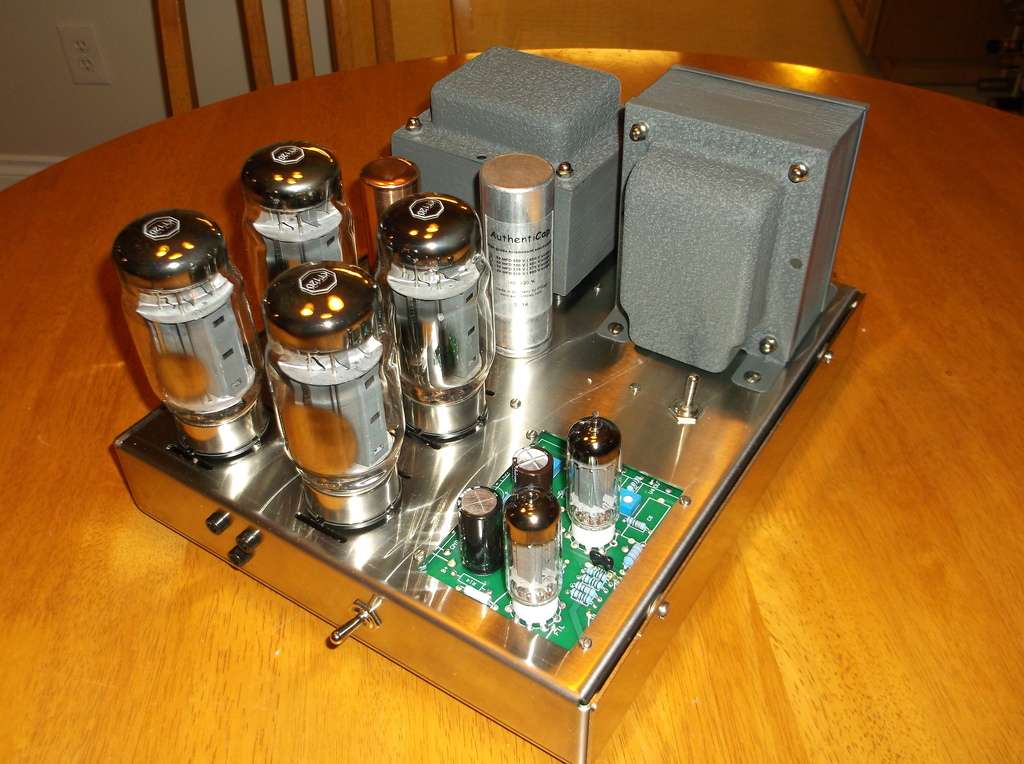
I really appreciate the clean look of a Dynaco ST70/120 and likewise these M125's. I wanted to put my touch on them without ruining that simple, classic look. In the end, I played off a simple vision of subtly recreating a retro automotive look; some acorn nuts and wrinkle finish paint on the transformers (think M/T valve covers). I briefly thought about drilling the nuts and safety wiring them, but thought that it would be a bit too much... though I wouldn't mind seeing it on someone else's if they wanted to do it! Not that this ties in with that look, but I was also discontent with the Weber rectifiers, so I started sanding them with 800 grit sandpaper before finally finishing with 3000 grit and then some Nevr-Dull. I am a fan of big bottles, so I didn't have the choice of getting anything but the KT-120's. I could not believe how big they were!
Some of my notes on the build:
1. Roll the solid strand wire under a book to get it straightened out (that one's pretty obvious, but doesn't hurt to mention)
2. The output transformer covers were not the most straight. Take the time to get them straight, particularly the feet and the small sides of the 90 degree bends. Between a vise and some scrap steel and a hammer I was able to get these completely straight. Of course test fit them against the transformer one last time before painting them to make sure the fit is still good.
3. Take the time to build the stand. Bob's instructions say to lay it on something soft like a towel, but I would never do a build of this care and detail without taking some time to make a good stand. A hint: Not a bad idea to add a tray. I made a little magnetic parts tray that I glued to my stand... very glad I did that.
4. When prepping the transformers for paint: The lamination of the casing does a great job of catching and ripping fibers off your cloth. If you don't have a tack-cloth get one, it handles it better than anything else. A blast of compressed air doesn't hurt either.
5. Make a non-marring screwdriver tip out of something like a spare piece of brass. It helps keep the screw heads clean looking; it doesn't take much to notice even the smallest deformation on the edges of the screw slots.
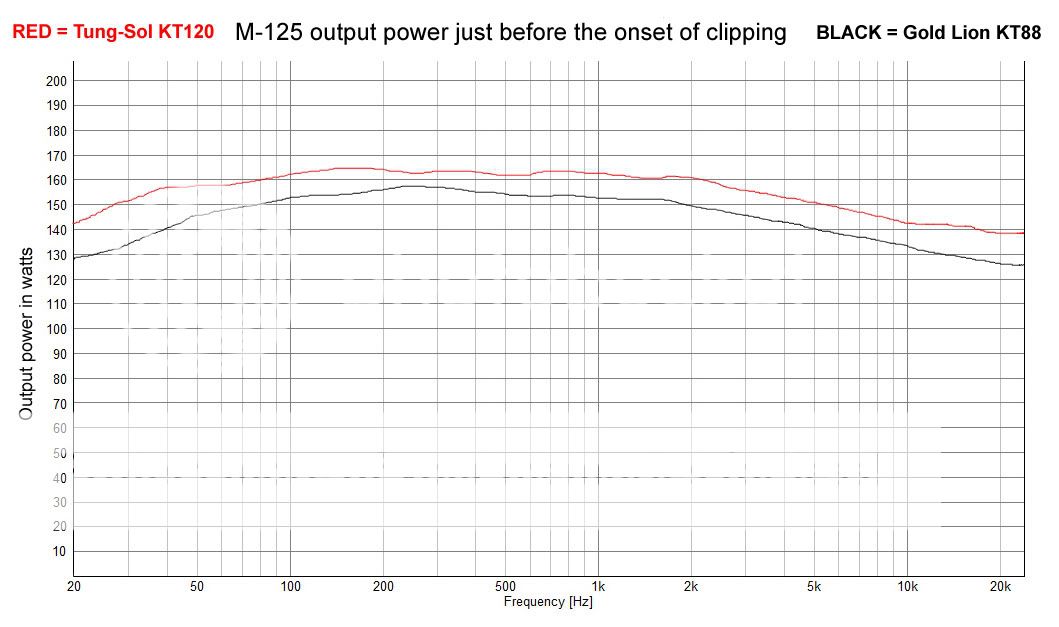
I have yet to finish the 2nd one (although it's close to complete), but I got the first one hooked up and got a few hours on it. I can't believe how much power there is! Even in triode, the amplifier has way more power than my old Pioneer speaker could handle. I like to listen loud, so I think that I am going to start looking for some new speakers that can take advantage of at least most of the power on tap! I can't comment too much on the sound because I was going through my laptop, to the aforementioned PAT-4, and into a single speaker. However, I should have a better idea when I at least get some stereo sound coming from my turntable.
Next step with these amps: Build stock-style covers for them. I have already found a perforated steel sheet online that mimicks the hole pattern of the ST-70 covers very closely. That will be quite the project in itself, but one thing at a time!
I thought I'd post some pictures of the build process for you all to see. I am not getting them to show up in the preview; I am pasting the "Email and IM" URL from the photobucket site into the "Insert Image" option on this website. Looks like the link works, but anybody know why the pictures aren't showing up?

AWESOME KITS!!!
I have done a basic rebuild on an ST70 (all capacitors replaced, new tubes, replaced selenium rectifier with diode), and rebuilt the power supply on a PAT-4, and that's really about it. So it's fair enough to call myself a novice when it comes to soldering and working on amplifiers in general.
I kind of laugh at the 8-10 hours per amplifier because I know I have way more time into them than that. But I think the key here is that if you can practice patience, you can go a long way towards mitigating your lack of experience.
I really appreciate the clean look of a Dynaco ST70/120 and likewise these M125's. I wanted to put my touch on them without ruining that simple, classic look. In the end, I played off a simple vision of subtly recreating a retro automotive look; some acorn nuts and wrinkle finish paint on the transformers (think M/T valve covers). I briefly thought about drilling the nuts and safety wiring them, but thought that it would be a bit too much... though I wouldn't mind seeing it on someone else's if they wanted to do it! Not that this ties in with that look, but I was also discontent with the Weber rectifiers, so I started sanding them with 800 grit sandpaper before finally finishing with 3000 grit and then some Nevr-Dull. I am a fan of big bottles, so I didn't have the choice of getting anything but the KT-120's. I could not believe how big they were!
Some of my notes on the build:
1. Roll the solid strand wire under a book to get it straightened out (that one's pretty obvious, but doesn't hurt to mention)
2. The output transformer covers were not the most straight. Take the time to get them straight, particularly the feet and the small sides of the 90 degree bends. Between a vise and some scrap steel and a hammer I was able to get these completely straight. Of course test fit them against the transformer one last time before painting them to make sure the fit is still good.
3. Take the time to build the stand. Bob's instructions say to lay it on something soft like a towel, but I would never do a build of this care and detail without taking some time to make a good stand. A hint: Not a bad idea to add a tray. I made a little magnetic parts tray that I glued to my stand... very glad I did that.
4. When prepping the transformers for paint: The lamination of the casing does a great job of catching and ripping fibers off your cloth. If you don't have a tack-cloth get one, it handles it better than anything else. A blast of compressed air doesn't hurt either.
5. Make a non-marring screwdriver tip out of something like a spare piece of brass. It helps keep the screw heads clean looking; it doesn't take much to notice even the smallest deformation on the edges of the screw slots.
I have yet to finish the 2nd one (although it's close to complete), but I got the first one hooked up and got a few hours on it. I can't believe how much power there is! Even in triode, the amplifier has way more power than my old Pioneer speaker could handle. I like to listen loud, so I think that I am going to start looking for some new speakers that can take advantage of at least most of the power on tap! I can't comment too much on the sound because I was going through my laptop, to the aforementioned PAT-4, and into a single speaker. However, I should have a better idea when I at least get some stereo sound coming from my turntable.
Next step with these amps: Build stock-style covers for them. I have already found a perforated steel sheet online that mimicks the hole pattern of the ST-70 covers very closely. That will be quite the project in itself, but one thing at a time!
I thought I'd post some pictures of the build process for you all to see. I am not getting them to show up in the preview; I am pasting the "Email and IM" URL from the photobucket site into the "Insert Image" option on this website. Looks like the link works, but anybody know why the pictures aren't showing up?
AWESOME KITS!!!


