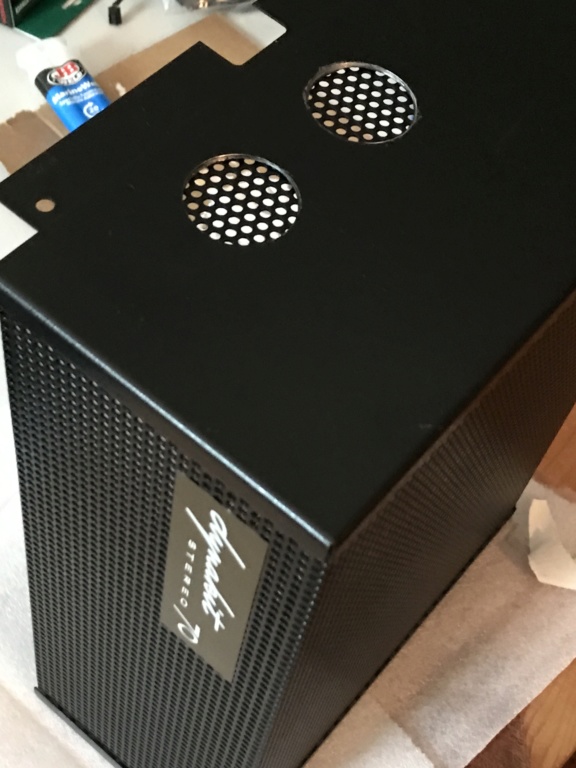
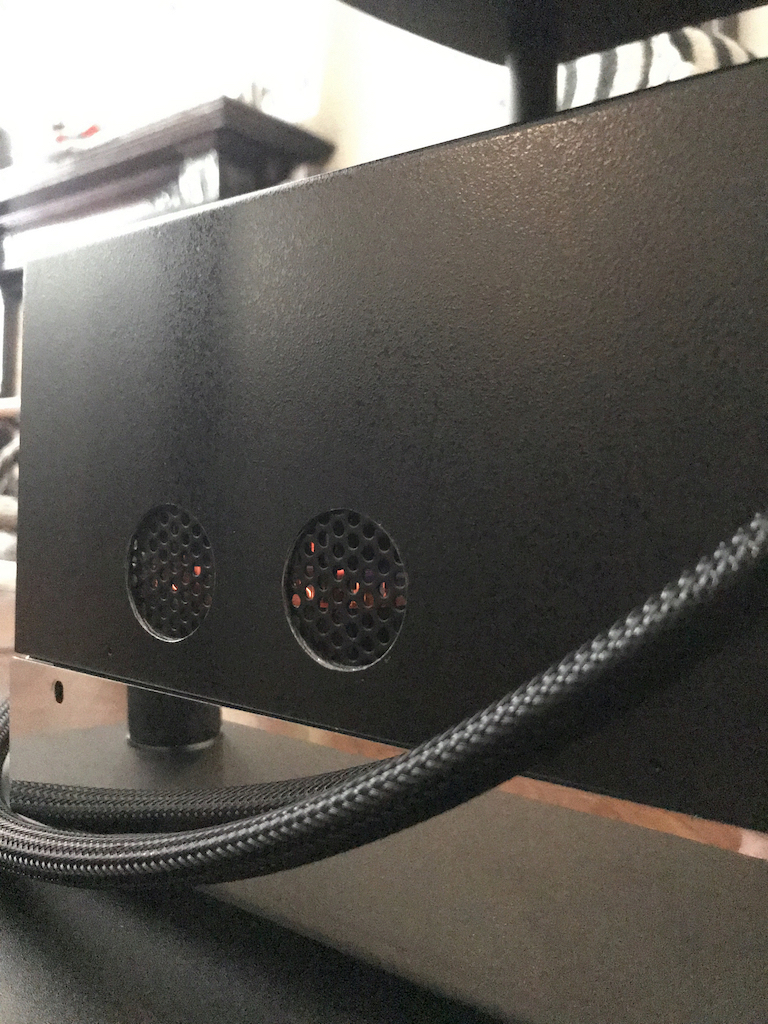
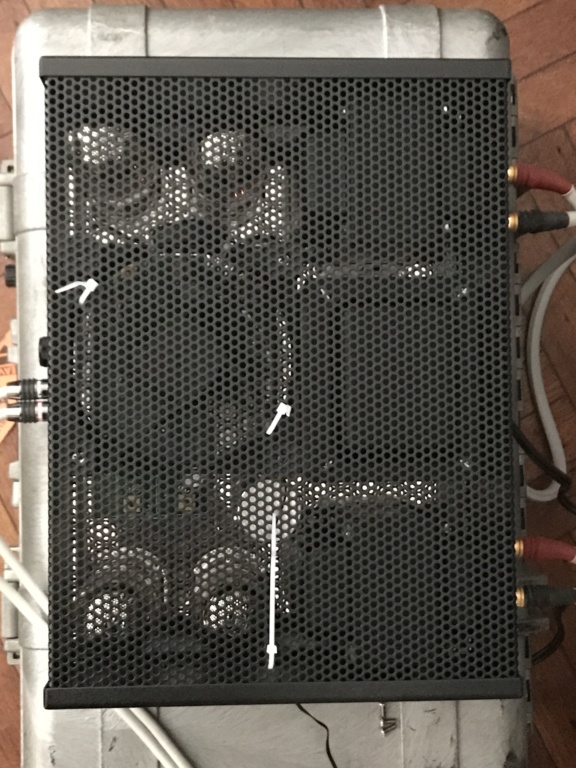
I recently purchased two American-made "whisper fans" which I have placed on the top of my ST-120 cage (the vintage brown ST-70 one) but I suspect that the efficiency of heat removal could be greatly increased by cutting some holes in the top. I lay the cage on the chassis rather than screwing it down, so there is a proper chimney effect going on - plenty of open space at the bottom but the top could use, I suspect, some additional openness.
So how should I cut some holes in the very solid top with common household tools?
Aesthetics are not an issue. I'm a single male slob who just don't care what it looks like.
So how should I cut some holes in the very solid top with common household tools?
Aesthetics are not an issue. I'm a single male slob who just don't care what it looks like.