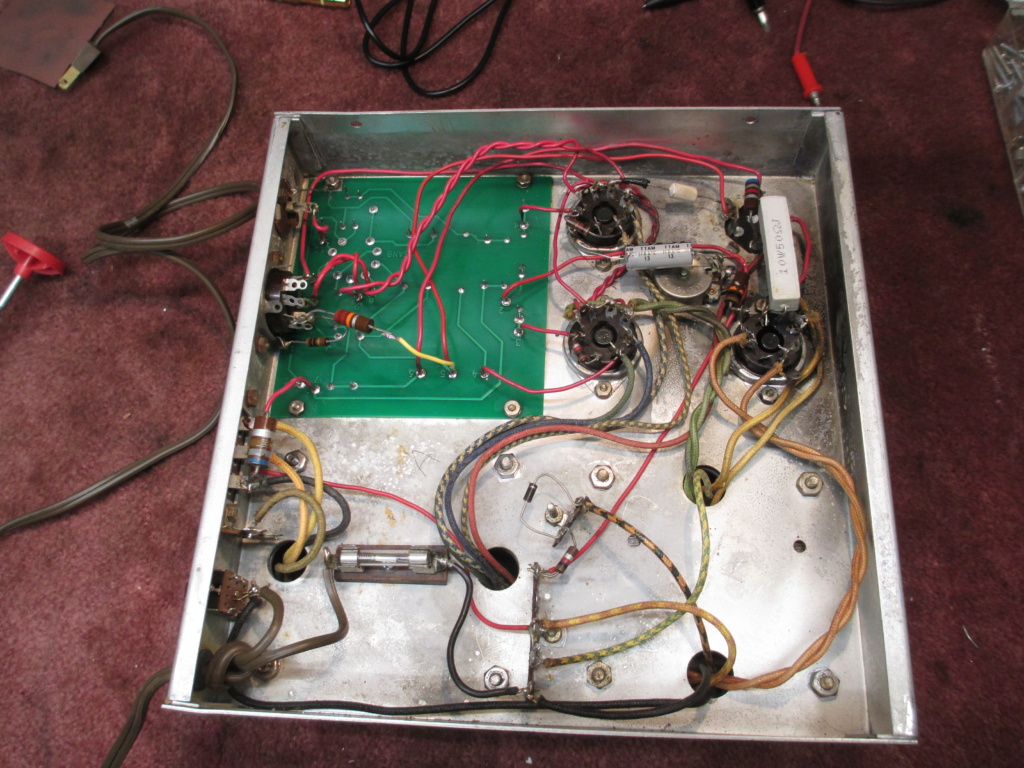

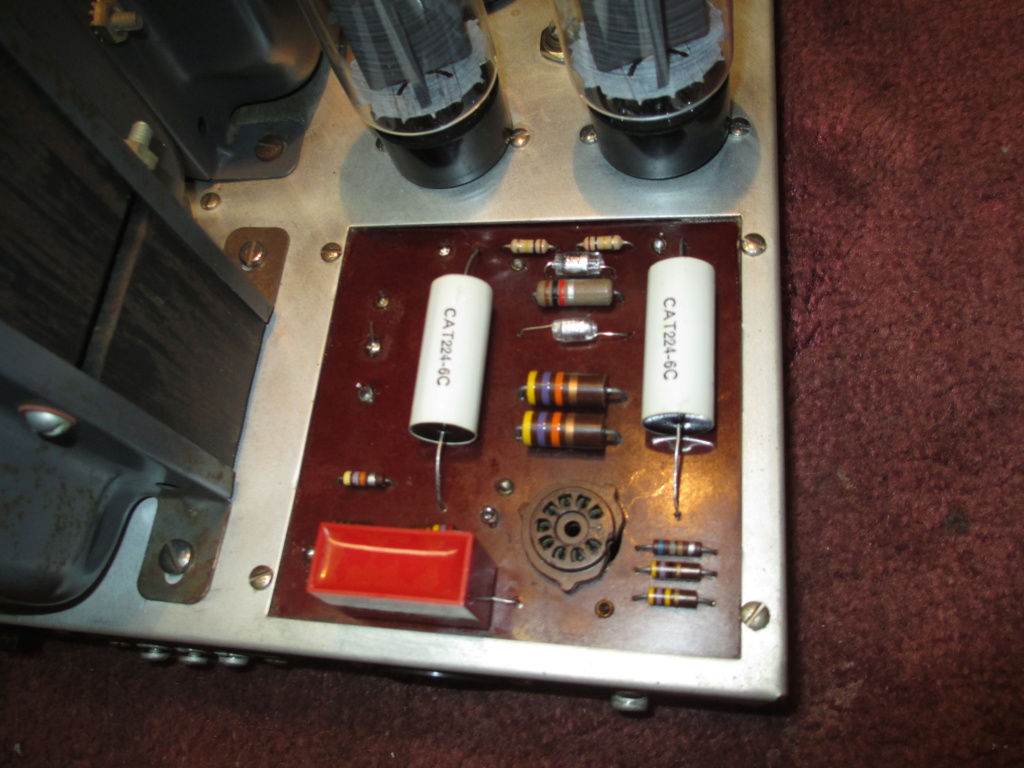
Some photos of my recent Dyna MK II rebuild. As you can see these are early versions with the wider PC1 circuit boards. I want my amps to 1) look stock 2) match the original schematic part for part and 3) have tightly matched component tolerances. Obviously keeping carbon composition resistors (mostly) meant measuring a number of parts to get good matches. Purchased polystyrene for the feedback caps and polypropylene for the coupling and by pass cap.
New 550V DC (600VDC surge) four section electrolytic cap was mandatory using the 5U4 and having 121 V AC line voltage. Nearly 590 VDC at turn on before the output sections starts to conduct.
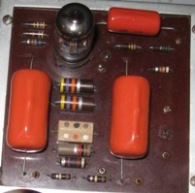
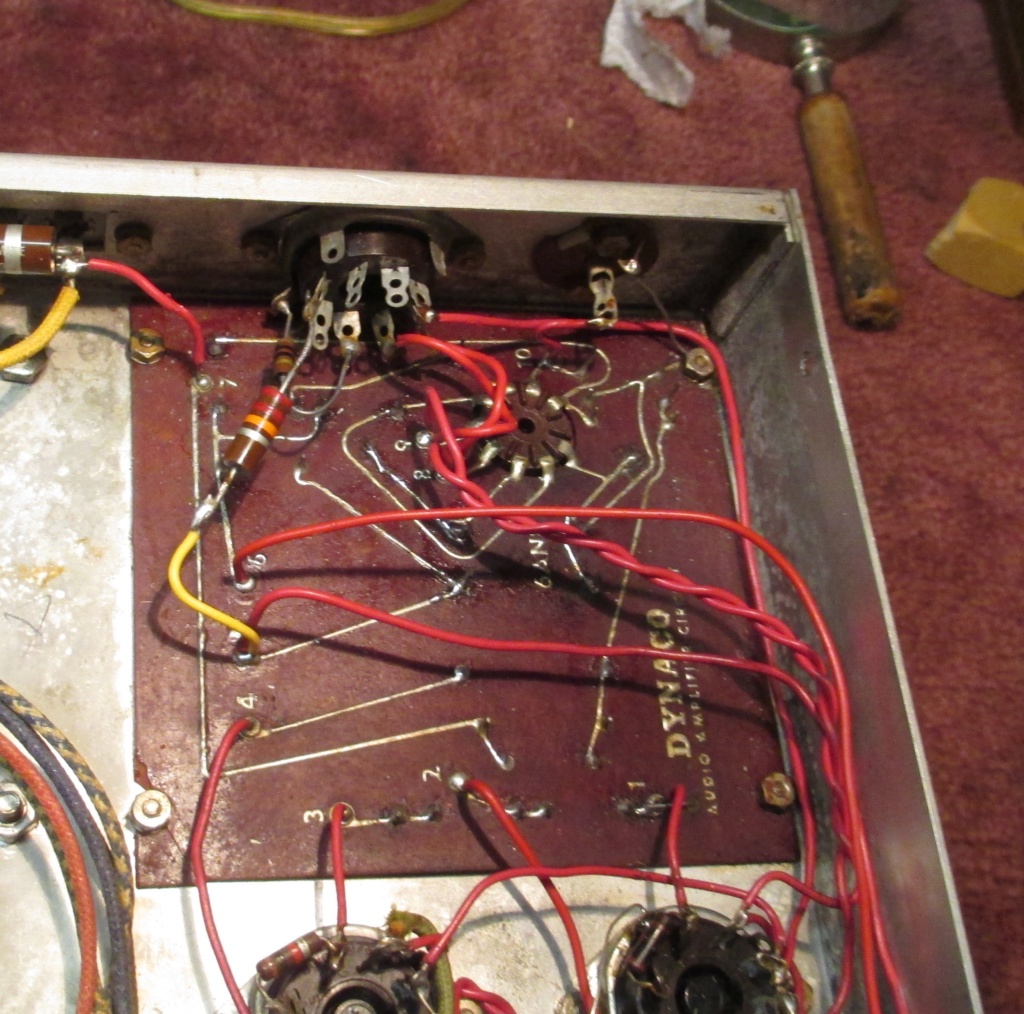
The original circuit boards were in rough shape with some lifted and missing traces. If you look close you can see where component (capacitors) leads were laid down the trace and soldered. Not the best solution but if you are careful they will work and should last. Another option is to make a plate that would cover the opening and cut out the middle to the size of a new replacement board. That may be a better solution but would not look vintage.
A new coat of paint and these look and sound great. A note on the use of the old feedback caps. Some try to reuse the domino shaped 390 pf cap. I tested mine and found one measured 283pf and the other 340pf. The new polystyrenes measure 388 and 390pf. Highly recommend all the caps to be replaced.

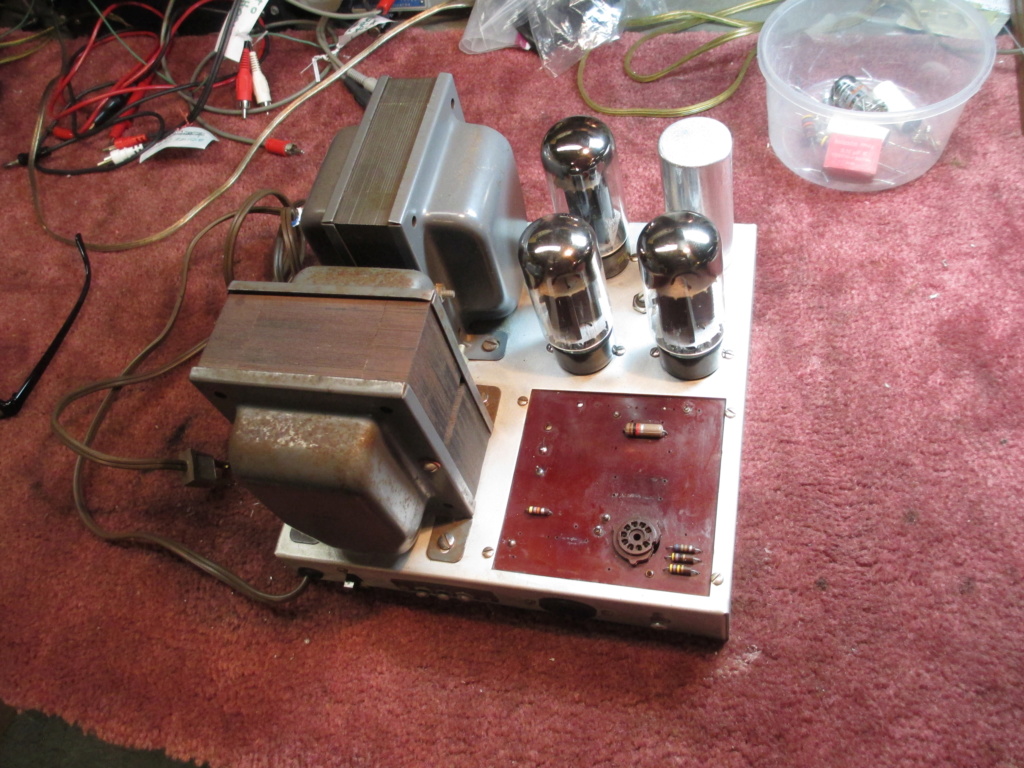
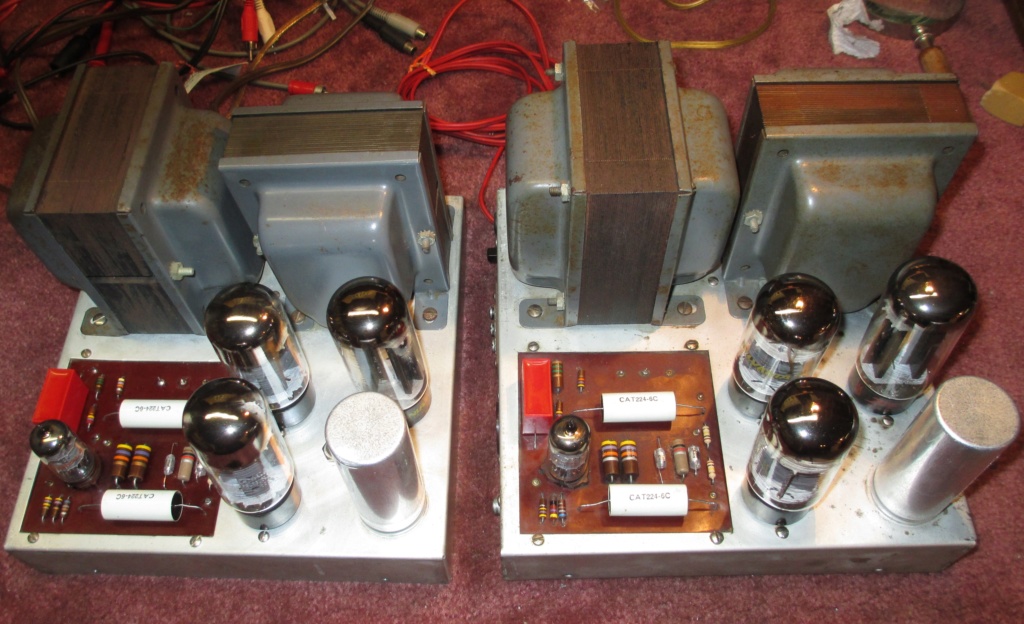
New 550V DC (600VDC surge) four section electrolytic cap was mandatory using the 5U4 and having 121 V AC line voltage. Nearly 590 VDC at turn on before the output sections starts to conduct.
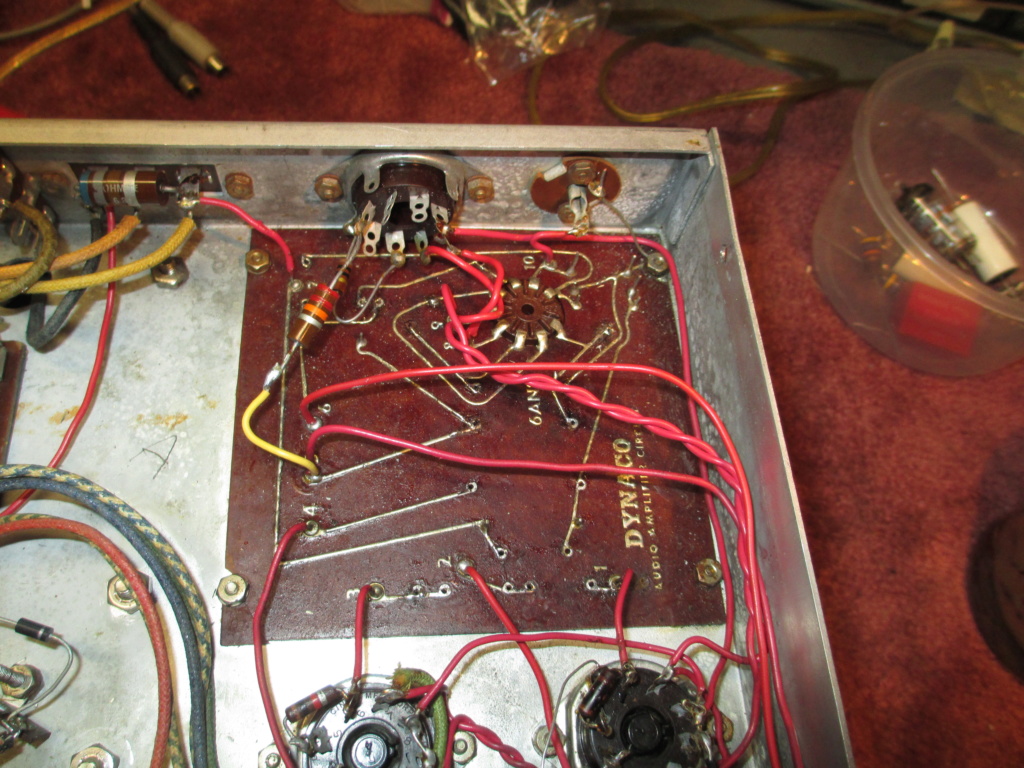
The original circuit boards were in rough shape with some lifted and missing traces. If you look close you can see where component (capacitors) leads were laid down the trace and soldered. Not the best solution but if you are careful they will work and should last. Another option is to make a plate that would cover the opening and cut out the middle to the size of a new replacement board. That may be a better solution but would not look vintage.
A new coat of paint and these look and sound great. A note on the use of the old feedback caps. Some try to reuse the domino shaped 390 pf cap. I tested mine and found one measured 283pf and the other 340pf. The new polystyrenes measure 388 and 390pf. Highly recommend all the caps to be replaced.